Connect your wallet to OBSDN DEX
Connecting your wallet is the first step to trading on OBSDN DEX. This process authorizes the platform to view your public address and request signatures for transactions. It does not give the platform access to your private keys or funds.
Follow these steps to establish a secure connection.
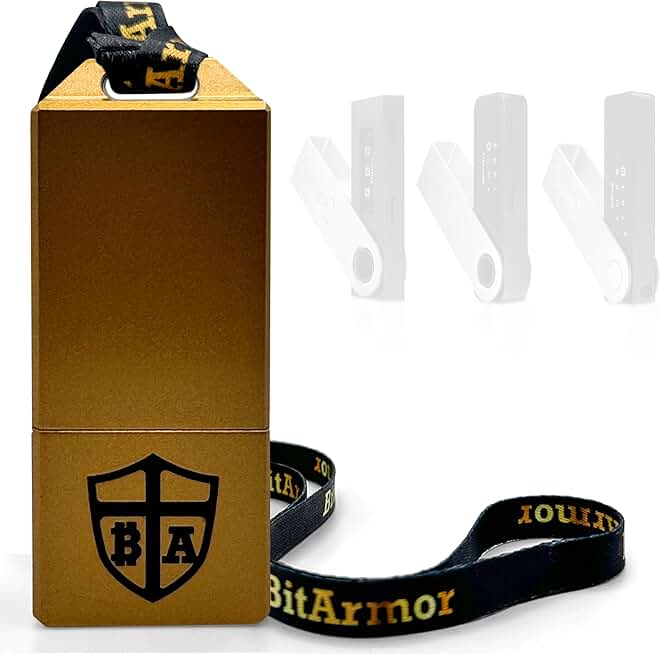
Before you begin trading, use this quick security checklist to ensure your connection is safe.
Select the right liquidity pool
Choosing the right pool is the first step in protecting your capital. A shallow pool acts like a narrow pipe; even a modest trade can cause a massive spike in price, known as slippage. A deep pool behaves more like a wide highway, absorbing larger volumes with minimal impact on the asset's price. To minimize execution costs, you need to look past the total value locked (TVL) and focus on the actual depth available at the current price.
Compare pool depth and fees
Not all pools are created equal. Some might show a high TVL but have most of their liquidity locked far away from the current market price, making them effectively shallow for immediate trades. Others might offer lower swap fees but suffer from higher impermanent loss risks or lower volume. Use the comparison below to understand the trade-offs between high-volume established pools and newer, lower-fee alternatives.
| Pool Type | Effective Depth | Slippage Risk | Fee Structure | Best For |
|---|---|---|---|---|
| High-Volume Stable | High | Low | Tiered (0.01-0.05%) | Large, stable-value trades |
| Newer Volatile | Medium | Medium | Flat (0.3%) | Moderate size, high-growth assets |
| Low-Liquidity Niche | Low | High | Flat (0.3-1.0%) | Small, speculative trades |
Analyze real-time depth
Before confirming a transaction, always check the order book or liquidity distribution. Most OBSDN DEX interfaces display a simple chart showing where the liquidity is concentrated. If the liquidity is clustered tightly around the current price, your trade will likely have low slippage. If the liquidity is spread out or thin, even a small trade could move the price against you. Adjust your trade size or split your order across multiple smaller transactions if the depth looks thin.
Factor in network fees
Finally, remember that slippage isn't the only cost. Network gas fees can eat into your profits, especially on congested chains. If you are making a small trade on a high-fee network, the cost of the transaction might exceed the value of the trade itself. Check the current estimated gas fees on the OBSDN interface before executing. If fees are unusually high, consider waiting for a less congested time or using a layer-2 solution if available.

As an Amazon Associate, we may earn from qualifying purchases.
Configure slippage and gas limits
Slippage is the difference between the price you expect and the price you actually get. In a decentralized exchange, setting this parameter correctly is the difference between a successful trade and a failed one. Think of slippage as your buffer against market volatility. If the market moves while your transaction is processing, the buffer absorbs the shock. Set it too low, and the transaction fails. Set it too high, and you might pay more than the asset is worth.
Gas limits are your insurance policy against network congestion. Ethereum and other blockchains require a fee to process transactions. If you underestimate this cost, the network rejects your trade, and you lose the fee you already paid. Most wallets estimate this automatically, but high volatility can spike demand. Manually adjusting the gas limit upward ensures your transaction has priority.
Review the transaction details
Before you sign anything, treat the confirmation screen like a contract you’re about to sign in ink. In decentralized finance, there is no customer support line to call if you approve the wrong amount or accept a terrible rate. You are the final checkpoint, and a quick scan here prevents costly mistakes later.
First, check the expected output. This is the amount of the token you will receive after fees. Look closely at the "price impact" indicator if your trade is large. A high impact means your buy order is moving the market against you, resulting in a worse price. If the number looks significantly lower than what you expected, reconsider your trade size or wait for better liquidity.
Next, verify the swap route. The interface should show exactly which pools or protocols are being used to execute your trade. For example, it might show a path from USDC to WETH, then to OBSDN. Ensure this route is direct and logical. Sometimes, more complex routes offer better prices, but they also carry higher risks of smart contract interactions. Stick to the recommended path unless you understand the mechanics.
Finally, double-check the slippage tolerance. This setting defines how much the price can change before the transaction fails. For stablecoin swaps, a low slippage (0.1-0.5%) is usually safe. For volatile assets like OBSDN, you might need 1-2% to ensure the trade goes through, but higher values expose you to front-running. If you are unsure, keep it conservative. Once you click "Swap," the transaction is sent to the blockchain, and only then can you review the gas fees and confirm in your wallet.
Avoid these OBSDN DEX setup mistakes
Setting up a decentralized exchange interface is straightforward, but small configuration errors can lead to failed transactions or lost funds. These mistakes are common among new users and are often preventable with a quick double-check. Treat your wallet configuration like a bank account number: one wrong digit, and the money goes nowhere.
Selecting the wrong network
The most frequent error is connecting your wallet to the wrong blockchain network. OBSDN DEX operates on specific chains (such as Ethereum Mainnet, BSC, or Polygon). If your wallet is set to a different network, the DEX interface may appear broken, or transactions will silently fail because the smart contract address does not exist on that chain.
The Fix: Before swapping tokens, verify the network icon in your wallet (MetaMask, Rabby, etc.) matches the network displayed in the DEX header. If they do not match, switch your wallet network manually. Never rely on the DEX to auto-switch networks, as this can sometimes trigger incorrect approvals.
Insufficient native token for gas
You cannot pay for transaction fees (gas) with the tokens you are trying to swap. Gas fees must be paid in the native currency of the chain (e.g., ETH for Ethereum, BNB for BSC, MATIC for Polygon). A common mistake is having plenty of USDC or OBSDN tokens but zero native currency, resulting in an "insufficient funds" error.
The Fix: Always ensure your wallet holds at least 5-10% of the native token’s current value in gas fees. If you are bridging funds from another chain, remember that bridge transactions also require native tokens for gas on the destination chain.
Approving unlimited token spend
When you first use a new DEX, you must approve the smart contract to spend your tokens. Many users blindly click "Approve" without checking the spending limit. An unlimited approval gives the contract permission to drain your wallet if the contract is ever compromised.
The Fix: Look for an option to set a "custom limit" or "spend cap." Set this to the exact amount you intend to swap for that session. While this requires a second transaction, it significantly reduces your attack surface. For large trades, consider using a hardware wallet to sign approvals, adding an extra layer of physical security.
Verify your trade on the blockchain
Your wallet shows the transaction as "confirmed," but in decentralized finance, the wallet is just a messenger. The blockchain is the truth. Before you move your funds elsewhere, you need to see the immutable record of the trade.
Copy the transaction hash (TXID) from your wallet interface. Paste it into a block explorer like Etherscan (for Ethereum) or Solscan (for Solana). These are official, public ledgers where every move is recorded.
Look for the "Status" field. It should say "Success." If it says "Failed" or "Reverted," the trade did not happen, and your funds are still in your wallet—though you may have paid a gas fee. If it is successful, check the "Token Transfers" section.
Match the token amounts and addresses exactly. Did you receive the correct amount of the new token? Is the balance update reflected in your wallet? This final check is your proof. Once verified, you can close the tab with confidence.
No comments yet. Be the first to share your thoughts!